Performing Online Updates to Local Databases with Record Builder
Beginning with
Open SiteSearch 4.1.0, Open SiteSearch Database Builder includes the Record
Builder application. Record Builder allows cataloguers to perform
online database updates to local databases one record at a time. If the
local database is available to patrons through
the WebZ interface, a cataloguer can update the database while your
patrons still have access to the database. Only the record being added,
modified, or deleted is locked (unavailable to patrons or other staff
using Record Builder) until the cataloguer submits the new or modified
record to the database.
Online database updates in Record Builder include:
- Adding a record to local database
- Updating an existing record in a local database
- Copying an existing record in a local database
- Deleting a record from a local database
If your system uses the Access component to provide staff authentication and authorization for Record Builder, a cataloguer must possess the proper privileges to add, edit, or delete records for a particular database. All cataloguers may not have the same privileges for every database.
Except for adding a new record to a local database, online record updates begin with locating a record and then opening (locking) the record. See these procedures for information about locating records:
- Searching for a Record in a Local Database with Record Builder
- Browsing for a Record in a Local Database with Record Builder
Document Conventions
- The term "you" refers to a cataloguer or other authorized staff member using Record Builder to perform online database updates.
- Each procedure
assumes that you have opened Record Builder in a Web browser:

See Record Builder Display Layout for information about the features of the Record Builder interface. The graphics in this topic show only the work area of the display.
Adding a Record to a Local Database
Follow this procedure to use Record Builder to create a new record in a local database.
|
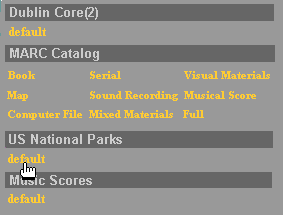
1. Find the database's name, such as US National Parks in the example shown here, and the workform (data entry form) you want to use to create the record. (The names underneath the database name are all of the its available workforms.) Click the desired workform name. |
|
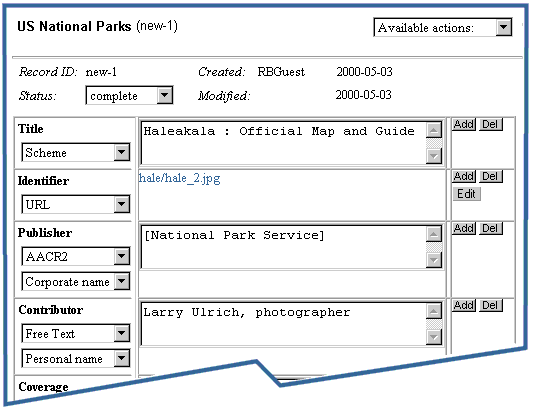
2. The workform you select appears, ready for you to enter data:
|
|
3. When you finish entering data, you can either:
|
|
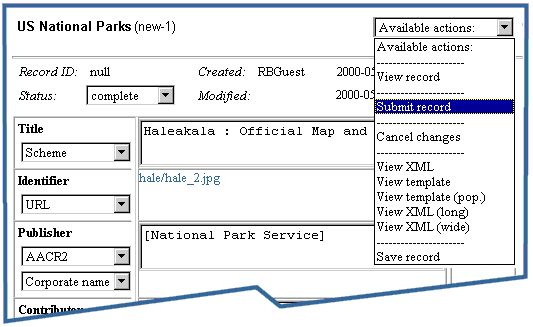
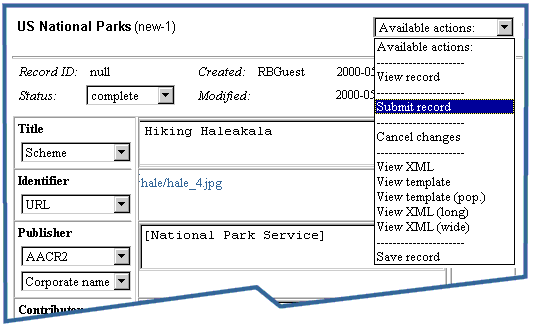
4. To submit the record to its target database:
|
|
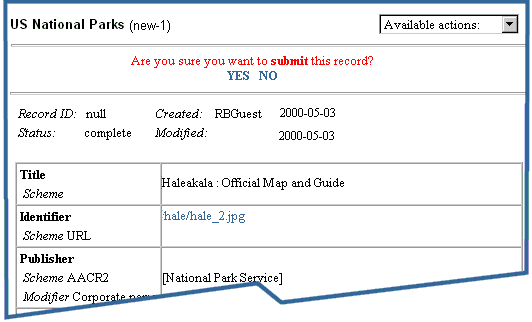
5. You see a confirmation message and the data contained in the record: Submitting a record adds it to the database. Once you submit a record, you must subsequently delete it to remove it from the database or edit it to modify any of its data. If you are working with a production database that is available to patrons through the WebZ interface while you modify the database, the record becomes available to patrons after you submit it. |
|
6. Do you want to submit the record to the database now?
|
|
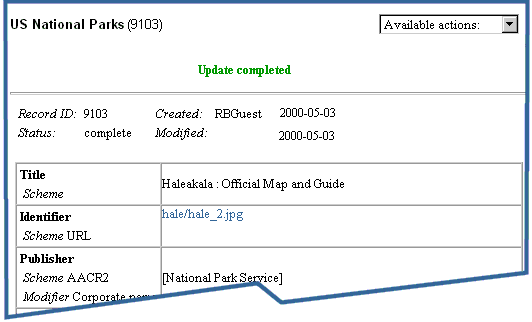
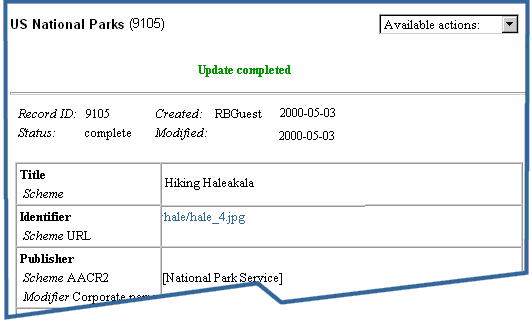
7. When Record Builder successfully commits the record to the database, you see the Update completed message, like this: |
| 6. Choose your next action from the Options menu. |
Updating an Existing Record in a Local Database
Follow this procedure to use Record Builder to modify an existing record in a local database.
|
2. When
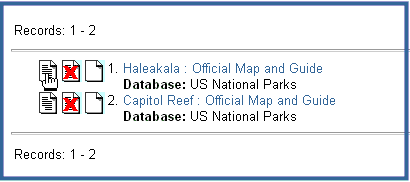
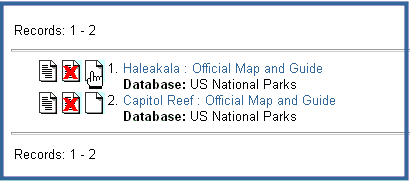
you find the right record, click the Edit Record icon ( |
|
3. The record opens with the master XML template used to originally create the record. Type or select the information that you want to change. See Data Entry Fields and Buttons for more information about the fields and buttons on the workform, respectively. |
|
4. When you finish entering data, you can either:
|
|
5. To submit the record to the target database:
|
|
6. You see the following prompt and the data contained in the record: Submitting a modified record adds the changes you made to the record the database. If you are working with a production database that is available to patrons through the WebZ interface while you modify the database, the revised record becomes available to patrons after you submit it. |
|
7. Do you want to submit the record to the database now?
|
| 8. When
Record Builder successfully commits the record to the database, you
see the Update
completed message, like this:
|
| 9. Choose your next action from the Options menu. |
Copying a Record in a Local Database
Follow this procedure to use Record Builder to copy a record in a local database and then edit the new record. In this procedure, you:
- Search or browse the database to locate the record of interest.
- Copy the record.
- Edit the new record.
- Submit the new record to the database.
|
2. When
you find the right record, click the Copy Record icon ( |
|
3. Record Builder copies the record and then opens the Edit Record screen with the master XML template used to originally create the record. Type or select the information that you want to change. See Data Entry Fields and Buttons for more information about the fields and buttons on the Edit Record screen. |
|
4. This new record is like a new record. It isn't saved anywhere yet. When you finish entering data, you can either:
|
|
5. When you finish editing this new record, you are ready to submit it to the database. (Note that this record is like a new record; you haven't saved it until you successfully submit it to the database.) To submit a record:
|
|
6. You see a confirmation message and the data contained in the record: Submitting a record adds it to the database. Once you submit a record, you must subsequently delete it to remove it from the database or edit it to modify any of its data. If you are working with a production database that is available to patrons through the WebZ interface while you modify the database, the record becomes available to patrons after you submit it. |
| 7. When
Record Builder successfully commits the record to the database, you
see the Update
completed message, like this:
|
| 8. Choose your next action from the Options menu. |
Deleting a Record from a Local Database
Follow this procedure to use Record Builder to delete a record in a local database.
|
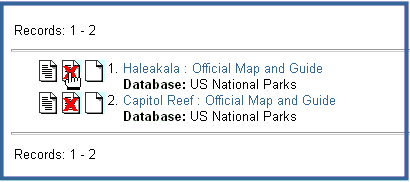
2. When
you find the right record, click the Delete Record icon ( |
|
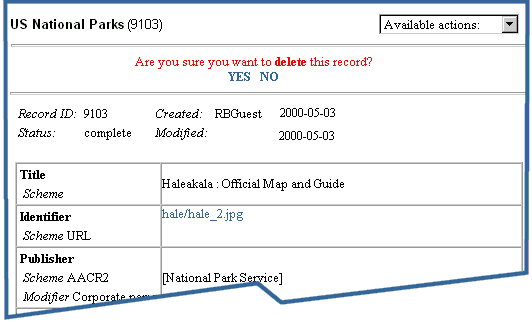
3. You see the record you selected and a message asking you to confirm the deletion: Deleting a record permanently removes it from the database. If you are working with a production database that is available to patrons through the WebZ interface while you modify the database, the record is no longer available to patrons as soon as you delete it. |
|
4. Do you want to delete the record now?
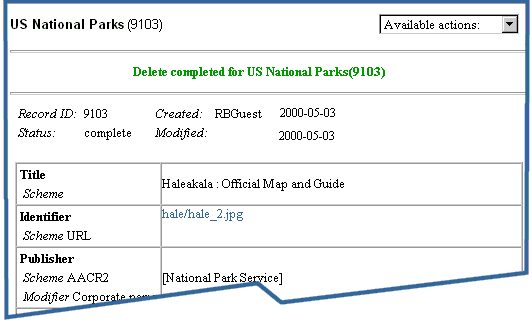
|
| 5. Choose your next action from the Options menu. |
See Also
A
Walkthrough of the Record Builder Interface
Record Builder Process Model and System Overview
Working with the Save Database
New Record Screen
Edit Record Screen
Copy Record Screen
Delete Record Screen
