Working with the Save Database
Contents
Introduction
Document Conventions
Adding
a Record to the Save Database
Restoring
a Record to Its Target Database
Editing
Metadata about a Record in the Save Database
Copying
a Record from the Save Database to Its Target Database
Deleting
a Record from the Save Database
Beginning with Open SiteSearch 4.1.1, Open SiteSearch Database Builder's Record Builder application includes the Save database. This database allows you to temporarily store records from local databases outside their target databases. These records may be incomplete, in progress, or awaiting review. When you want to subsequently edit a record that exists in the Save database, you can then restore the record to its target database or copy the record to the target database. A record in the Save database contains metadata about the record, such as the date and time the record was created, the record's author, and the record's reviewer. You can edit some of this information if you wish.
This topic includes step-by-step procedures for adding records to the Save database and working with these records.
| NOTE: | The Save database is not available in SiteSearch 4.1.0. |
- The term "you" refers to a cataloguer or other authorized staff member using Record Builder to perform online database updates.
- Each procedure
assumes that you have opened Record Builder in a Web browser:
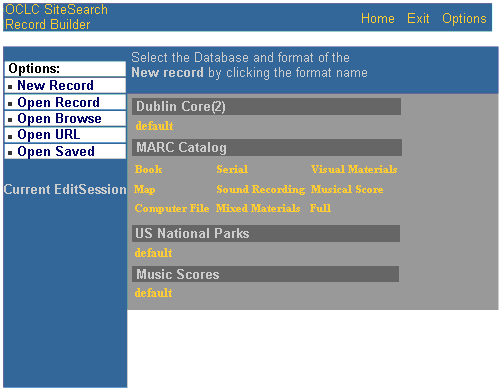
See Record Builder Display Layout for information about the features of the Record Builder interface. The graphics in this topic show only the work area of the display.
Adding a Record to the Save Database
While you are creating or editing a record, you can use the Save database as a temporary storage location for the record instead of submitting the record to its target database. This allows you to save incomplete records or completed records awaiting review outside a target database. When you want to subsequently edit a record that exists in the Save database, you can restore the record to its target database or copy the record to the target database.
Follow this procedure to add a record to the Save database:
| 1. Create a new record or edit an existing record. |
|
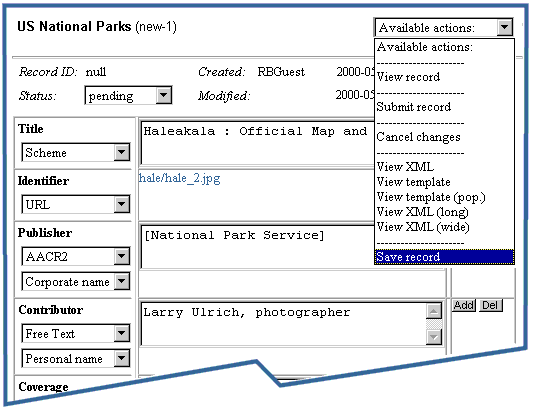
2. On the Edit Record screen, select Save record from the Available actions list. |
|
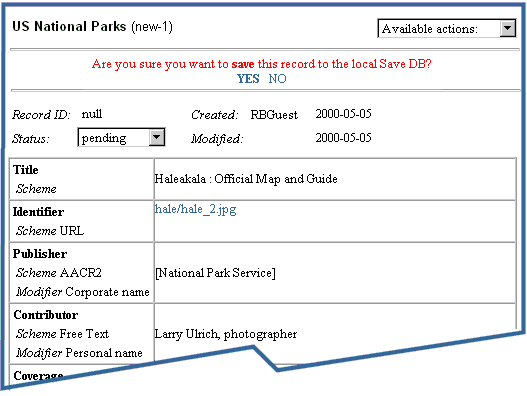
2. Record Builder displays the record in read-only mode and the following prompt: |
|
3. Do you want to save the record in the Save database now?
|
|
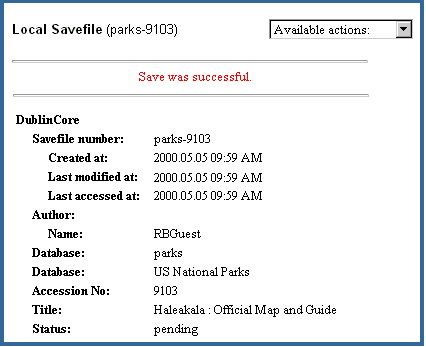
4. If you click YES in step 3, Record Builder displays a confirmation message and information about the record: Record Builder adds a link to the new record in the Save database to the EditSession information on the left side of the screen. If you want to edit metadata about the record in the Save database during this Record Builder session, click this link. |
| 5. Choose your next action from the Options menu. |
Restoring a Record to its Target Database
Follow this procedure to restore a record in the Save database to its target database so that you can edit it and then submit it to this database. When you restore a record to the target database, it no longer exists in the Save database. If you want to retain a copy of the record in the Save database after you restore it, copy the record to the target database instead.
|
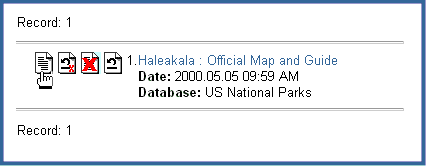
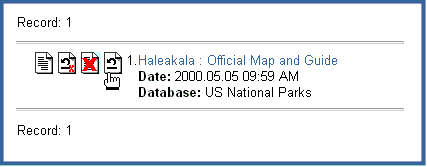
1. Search the Save database for the record that you want to restore. |
||
|
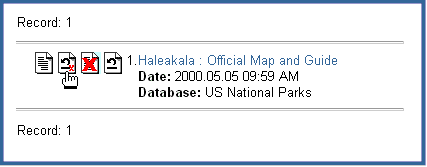
2. When you
find the right record on the Search
Saved Results screen, click
the Restore Record ( |
||
|
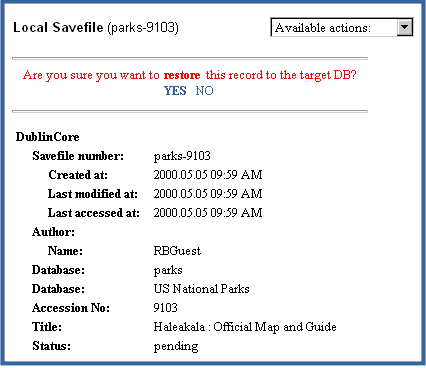
3. Record Builder displays the following prompt and the record as it exists in the Save database: |
||
|
4. Do you want to restore the record to the target database now?
|
||
|
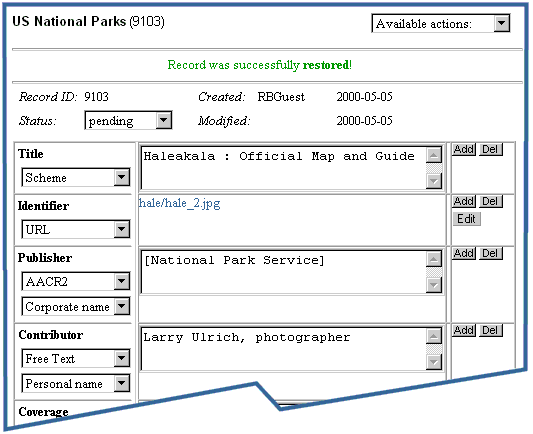
5. Record Builder restores the record to its target database and then opens the Edit Record screen with the master XML template used to originally create the record. Type or select the information that you want to change. See Data Entry Fields and Buttons for more information about the fields and buttons on the Edit Record screen.
|
||
|
6. Go to step 5 of the procedure, Updating an Existing Record in a Local Database, for information about submitting the record to the database. |
Editing Metadata for a Record in the Save Database
The records in the Save database include metadata fields that allow you to track the progress of the record in your workflow, including identifying information about the record's creator, reviewer, and the Record Builder administrator. Using these fields is entirely optional, but may be helpful to you. To edit this information, follow the steps below.
|
1. Search the Save database for the record that you want to edit. |
|
2. When
you find the right record, click the Edit Record icon ( |
|
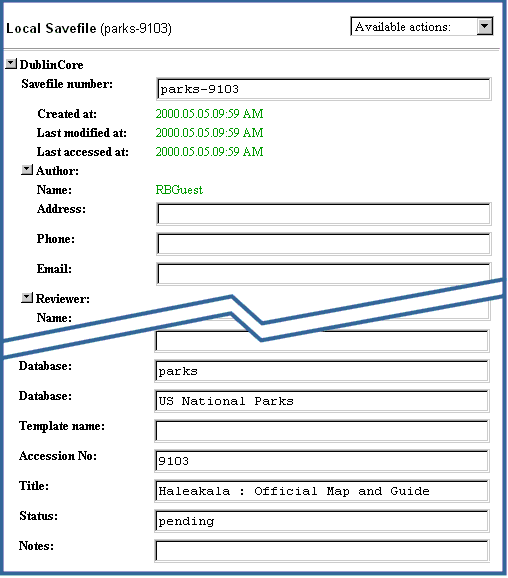
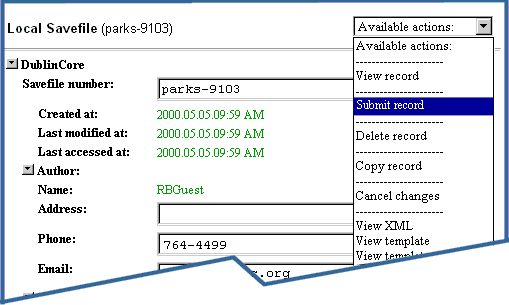
3. The record opens, as shown here. If you are the record's author, you may enter your address, phone number, or e-mail address in the Author fields. Reviewers or administrators may also enter this information about themselves in the appropriate sections. (This graphic shows only the fields in the Author section.). You cannot edit the data displayed in green text. The bottom of the screen contains identifying information about the record itself. You should not generally modify any of this information except for the Status and Notes fields. |
|
4. When you finish entering data, you are ready to submit the record to the Save database. To submit a record:
|
|
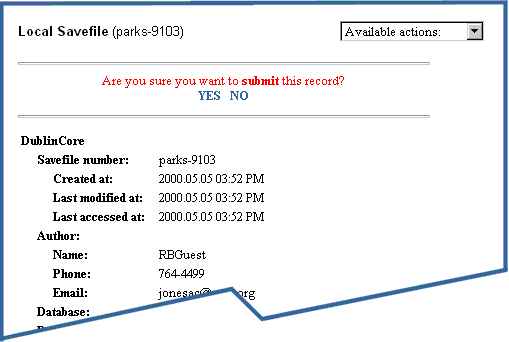
5. You see the following prompt and the data contained in the record: |
|
6. Do you want to submit the record to the database now?
|
| 7. When
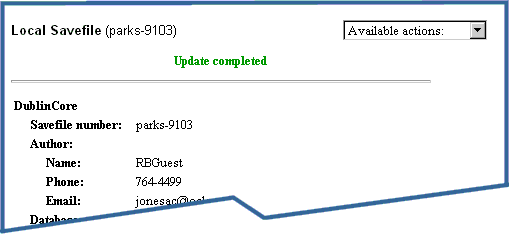
Record Builder successfully commits the record to the database, you
see the Update
completed message, like this:
|
| 8. Choose your next action from the Options menu. |
Copying a Record from the Save Database to Its Target Database
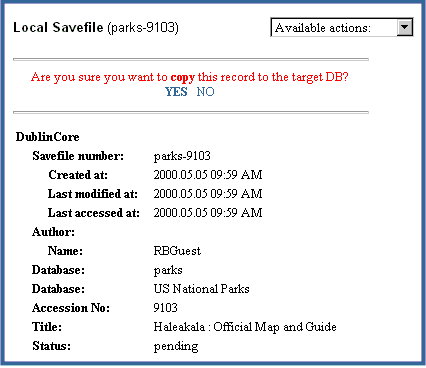
Follow this procedure to use Record Builder to restore a record to its target database and keep a copy of the record in the Save database. You will subsequently have to delete the record from the Save database when you no longer need it.
|
1. Search the Save database for the record that you want to copy. |
||
|
2. When
you find the right record, click the Copy Record icon ( |
||
|
3. Record Builder displays the following prompt and the record as it exists in the Save database: |
||
|
4. Do you want to restore the record to the target database now?
|
||
|
5. Record Builder restores the record to its target database and then opens the Edit Record screen with the master XML template used to originally create the record and a message that the restore was successful. Type or select the information that you want to change. See Data Entry Fields and Buttons for more information about the fields and buttons on the Edit Record screen.
|
||
|
6. Go to step 5 of the procedure, Updating an Existing Record in a Local Database, for information about submitting the record to the database. |
Deleting a Record from the Save Database
Follow this procedure to use Record Builder to delete a record from the Save database. When you restore a record to its target database, Record Builder automatically removes the record from the Save database. Therefore, you only need to delete a record that you never restore to its target database, or a record from the Save database that you copy to its target database.
|
1. Search the Save database for the record that you want to delete. |
|
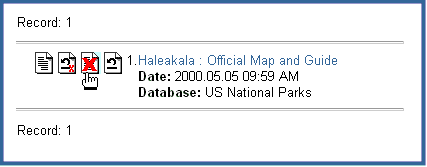
2. When
you find the right record, click the Delete Record icon ( |
|
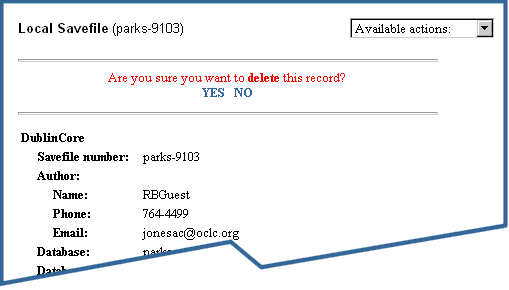
3. You see the record you selected and a message asking you to confirm the deletion: Deleting a record permanently removes it from the Save database. You will lose any changes to this record that you have not submitted to its target database. |
|
4. Do you want to delete the record now?
|
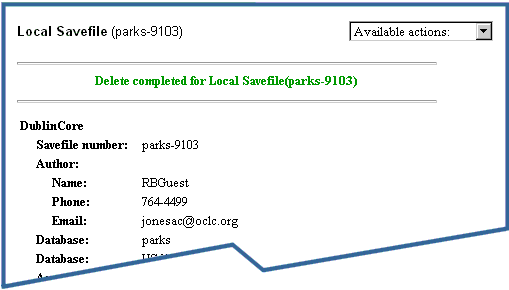
| 5. Choose your next action from the Options menu. |
See Also
A
Walkthrough of the Record Builder Interface
Performing Online Record Updates with Record
Builder
The Save (Temporary) Database
Searching the Save Database
Record Builder Process Model and System Overview
Restore Saved Record Screen
Edit Saved Record Screen
Copy Saved Record Screen
Delete Saved Record Screen
